Customer Satisfaction Score (CSAT) email template distribution in Zendesk

This article will show you how to start measuring Customer Satisfaction Score (CSAT) directly in your Zendesk email template (signature).
Written documentation
Requirements
In this article
NOTE: Every step in the article is the same for CSAT, NPS, and CES
Connecting Zendesk with Nicereply
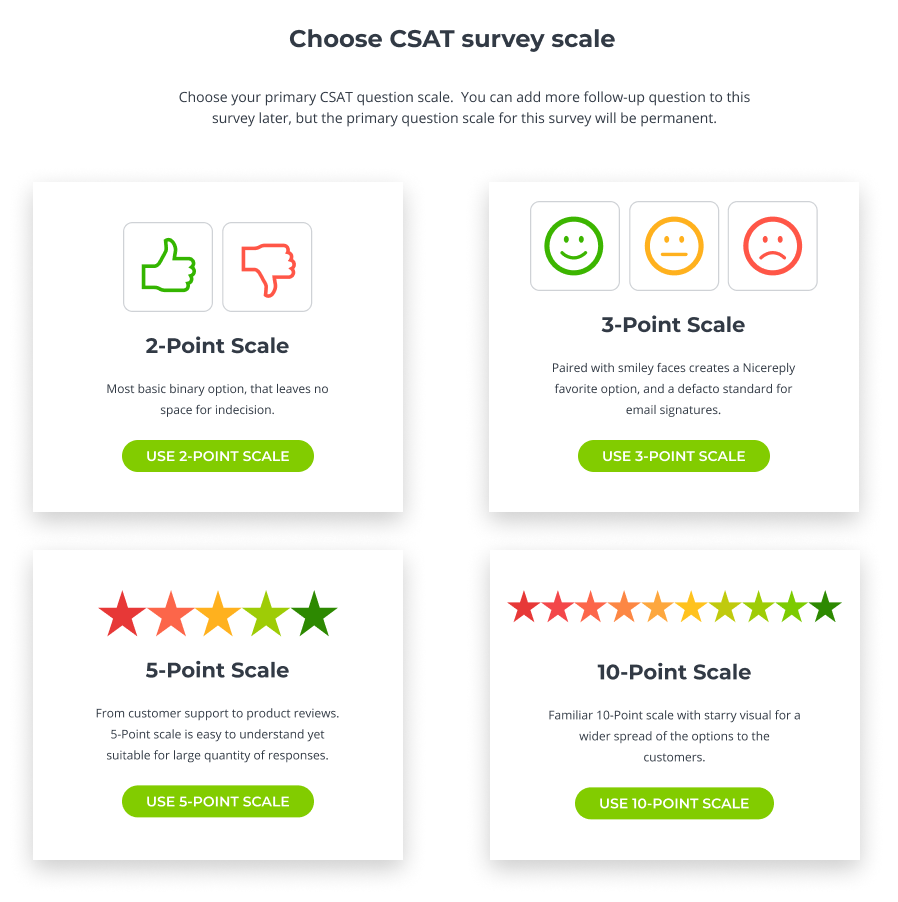
1. Choose the CSAT metric in the “left menu” in your Nicereply account. Click on START CSAT. If you do not see the START CSAT button, click on the NEW SURVEY button in the top left corner of the screen. Then, choose your primary CSAT question rating scale. Once you choose the survey rating scale, it is not possible to change it later.

2. From distribution options, choose EMAIL TEMPLATE
3. You’re on the app directory page now, click on the Zendesk icon
4. Add your Zendesk hostname (e.g., ACMEcompany.zendesk.com). Hit "Connect and continue".

- Connect Nicereply with your Zendesk account using your Zendesk credentials.
Note: Ensure that you have admin access to the Zendesk account.
6. Import your agents in the next step. Add your users from Zendesk to Nicereply. New users will get an automated email with login instructions from us.
Adding email template to Zendesk
6. You're on the right track! To collect customer feedback, you need to place CSAT (smiley faces) into your Zendesk email templates. Now, copy the CSAT code.


8. Set the trigger conditions according to your needs. Now, you need to remove (DELETE) this part of the existing code: " Your request ({{ticket.id}}) has been updated. To add additional comments, reply to this email."

And then paste the CSAT code from the clipboard into the trigger email body after "{{ticket.comments_formatted}}" code.
Note: Make sure you won't delete {{ticket.comments_formatted}} too. If you delete this {{placeholder}} by mistake, your emails will be sent without any text inside.

Your trigger template should then look like this:

Don’t forget to save your changes on the trigger by clicking the Save button, and confirm setup completion in Nicereply.
Good job!
Your email templates will now contain CSAT code (smiley faces), and all collected ratings will be stored in Nicereply under the CSAT tab.

